
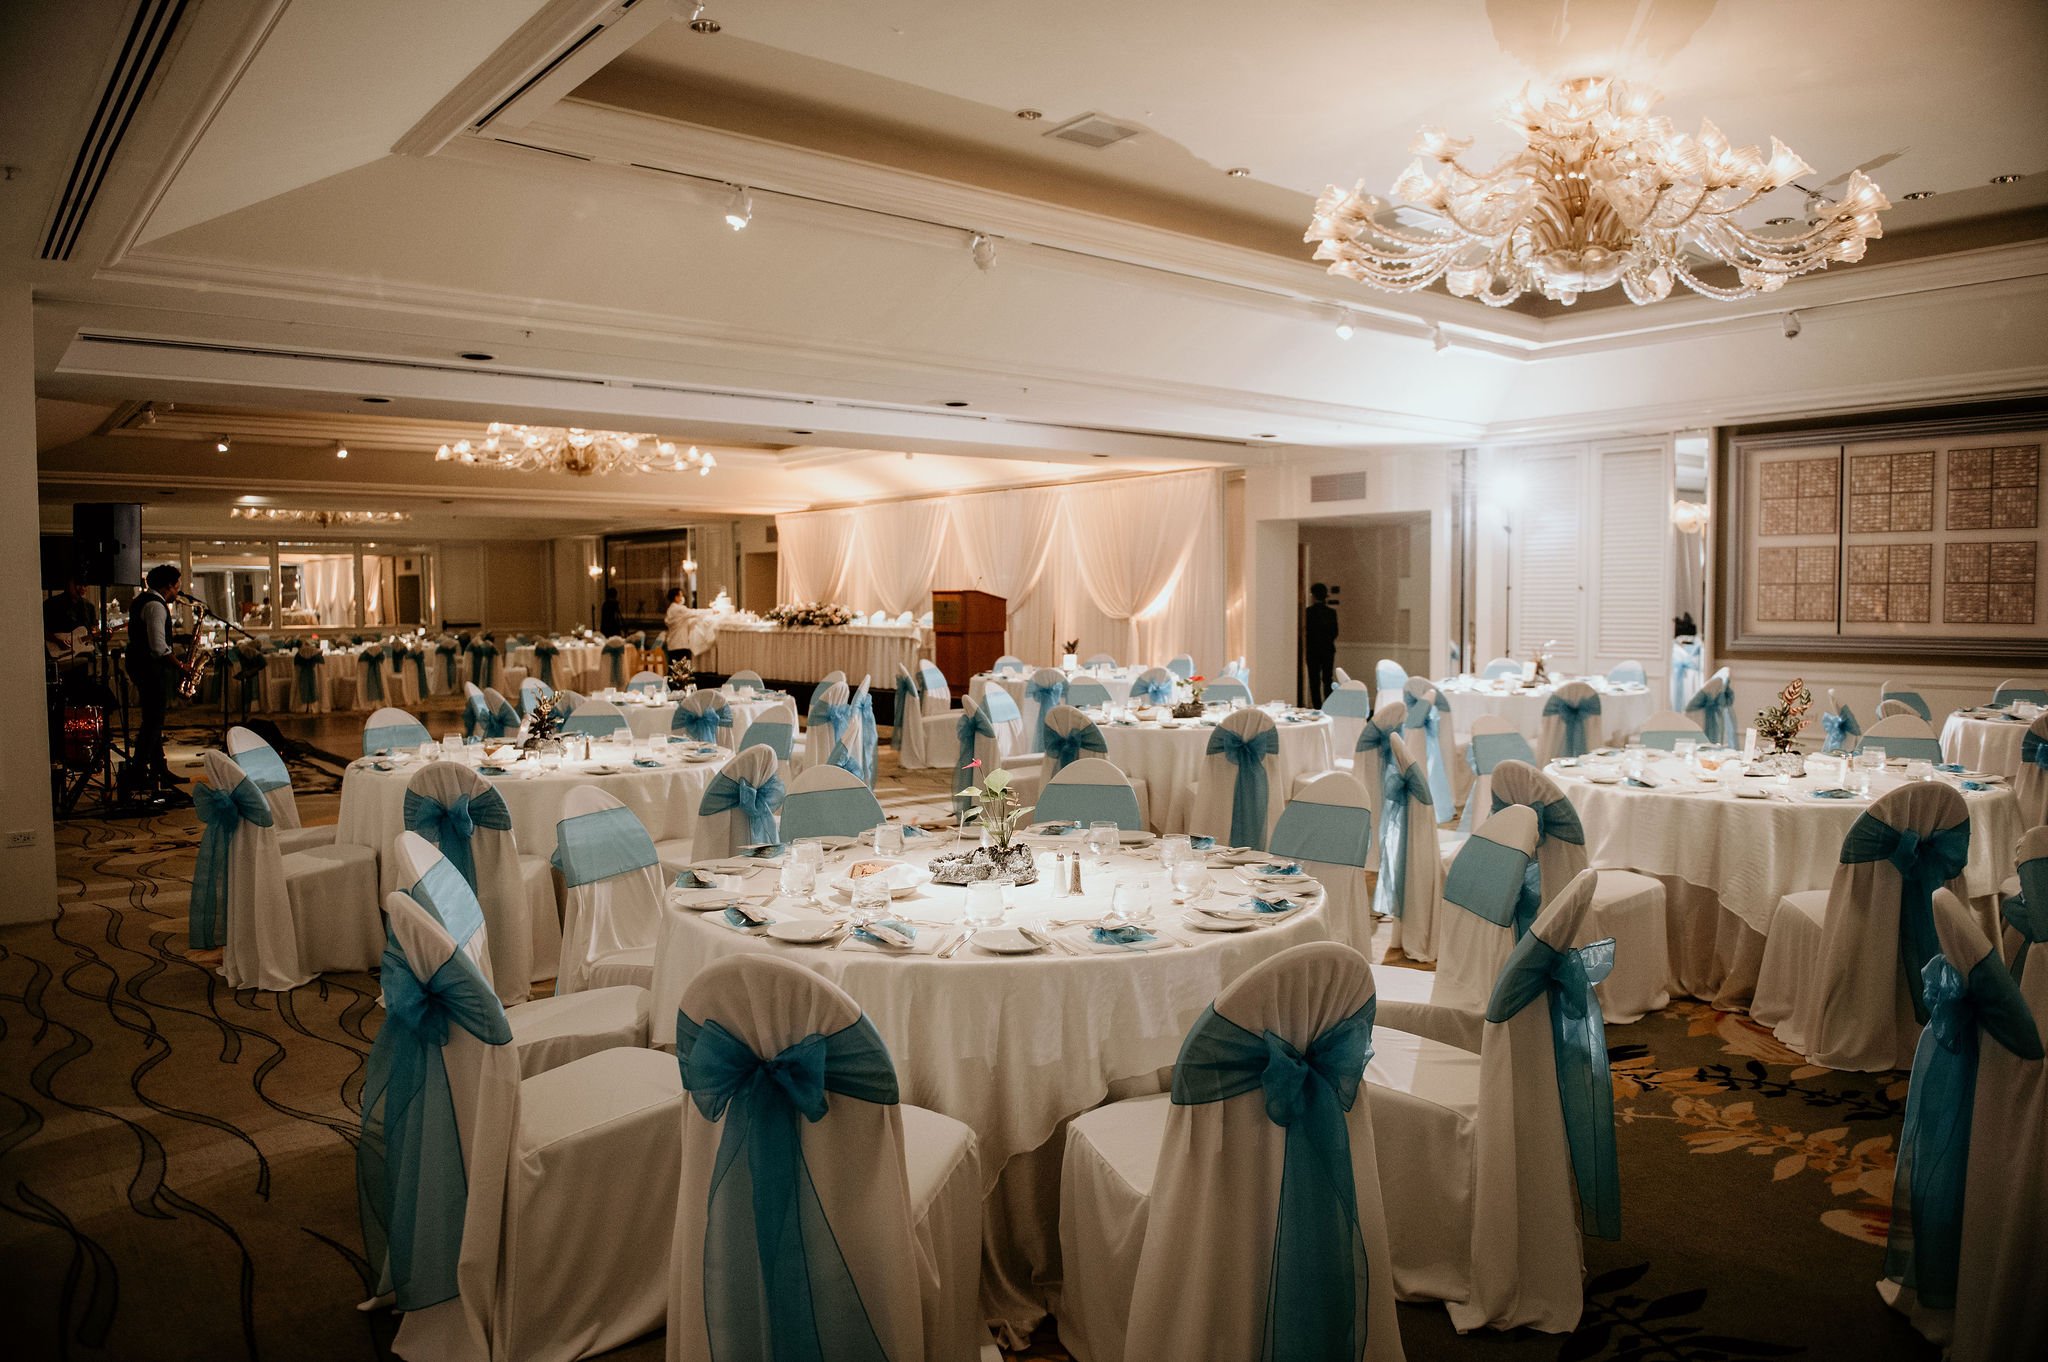
Photography: Derek Wong Photography | Venue: Kahala Resort
Creating a seating chart can often feel like a daunting task, but with the right strategies and design ideas, it can be a straightforward and enjoyable part of your event planning process. Here are some tips and tricks to help you create an effective seating chart and present it beautifully to your guests!
Tips for Creating a Seating Chart
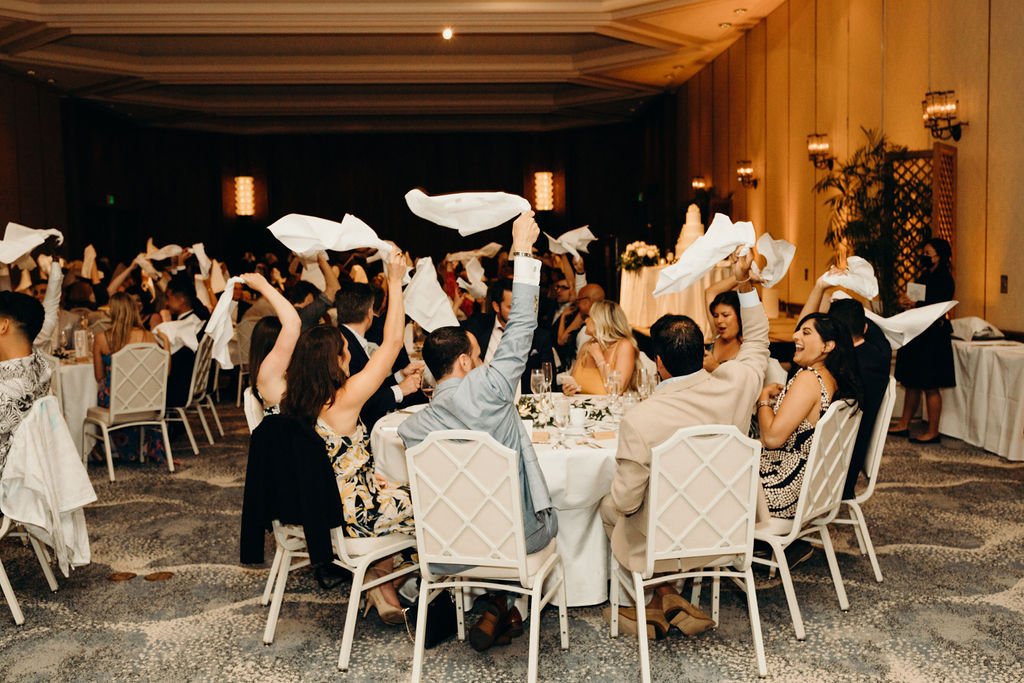
Photography: Keani Bakula
Know Your Guest List: Start with a comprehensive guest list. Confirm RSVPs to ensure you have an accurate headcount. This helps in selecting the right size table and layout!
Understand Relationships: Consider the relationships between your guests! Group friends, families, and colleagues who know each other, but also think about seating arrangements that may encourage mingling among different groups.
Choose the Right Layout: Decide on a layout that fits your venue. Options include a traditional long table, round tables, or a mix. Ensure that pathways between tables are clear for guest movement!
Kids' Table: If children are attending, designate a ‘kids' table’ to keep them entertained and comfortable. This helps parents enjoy the event without worrying about their kids!
Accessibility: Ensure that you have accessible seating for guests with mobility issues. Consider their comfort and offer seating near exits and restrooms.
Avoid Conflicts: Be mindful of any known conflicts between guests. If you think certain guests may not get along, it’s best to seat them apart to avoid any awkward situations.
Use Place Cards: For a more formal event, use place cards to indicate where each guest will sit. This gives a personal touch and ensures that everyone knows their designated spot!
Design Ideas for Displaying Your Seating Chart

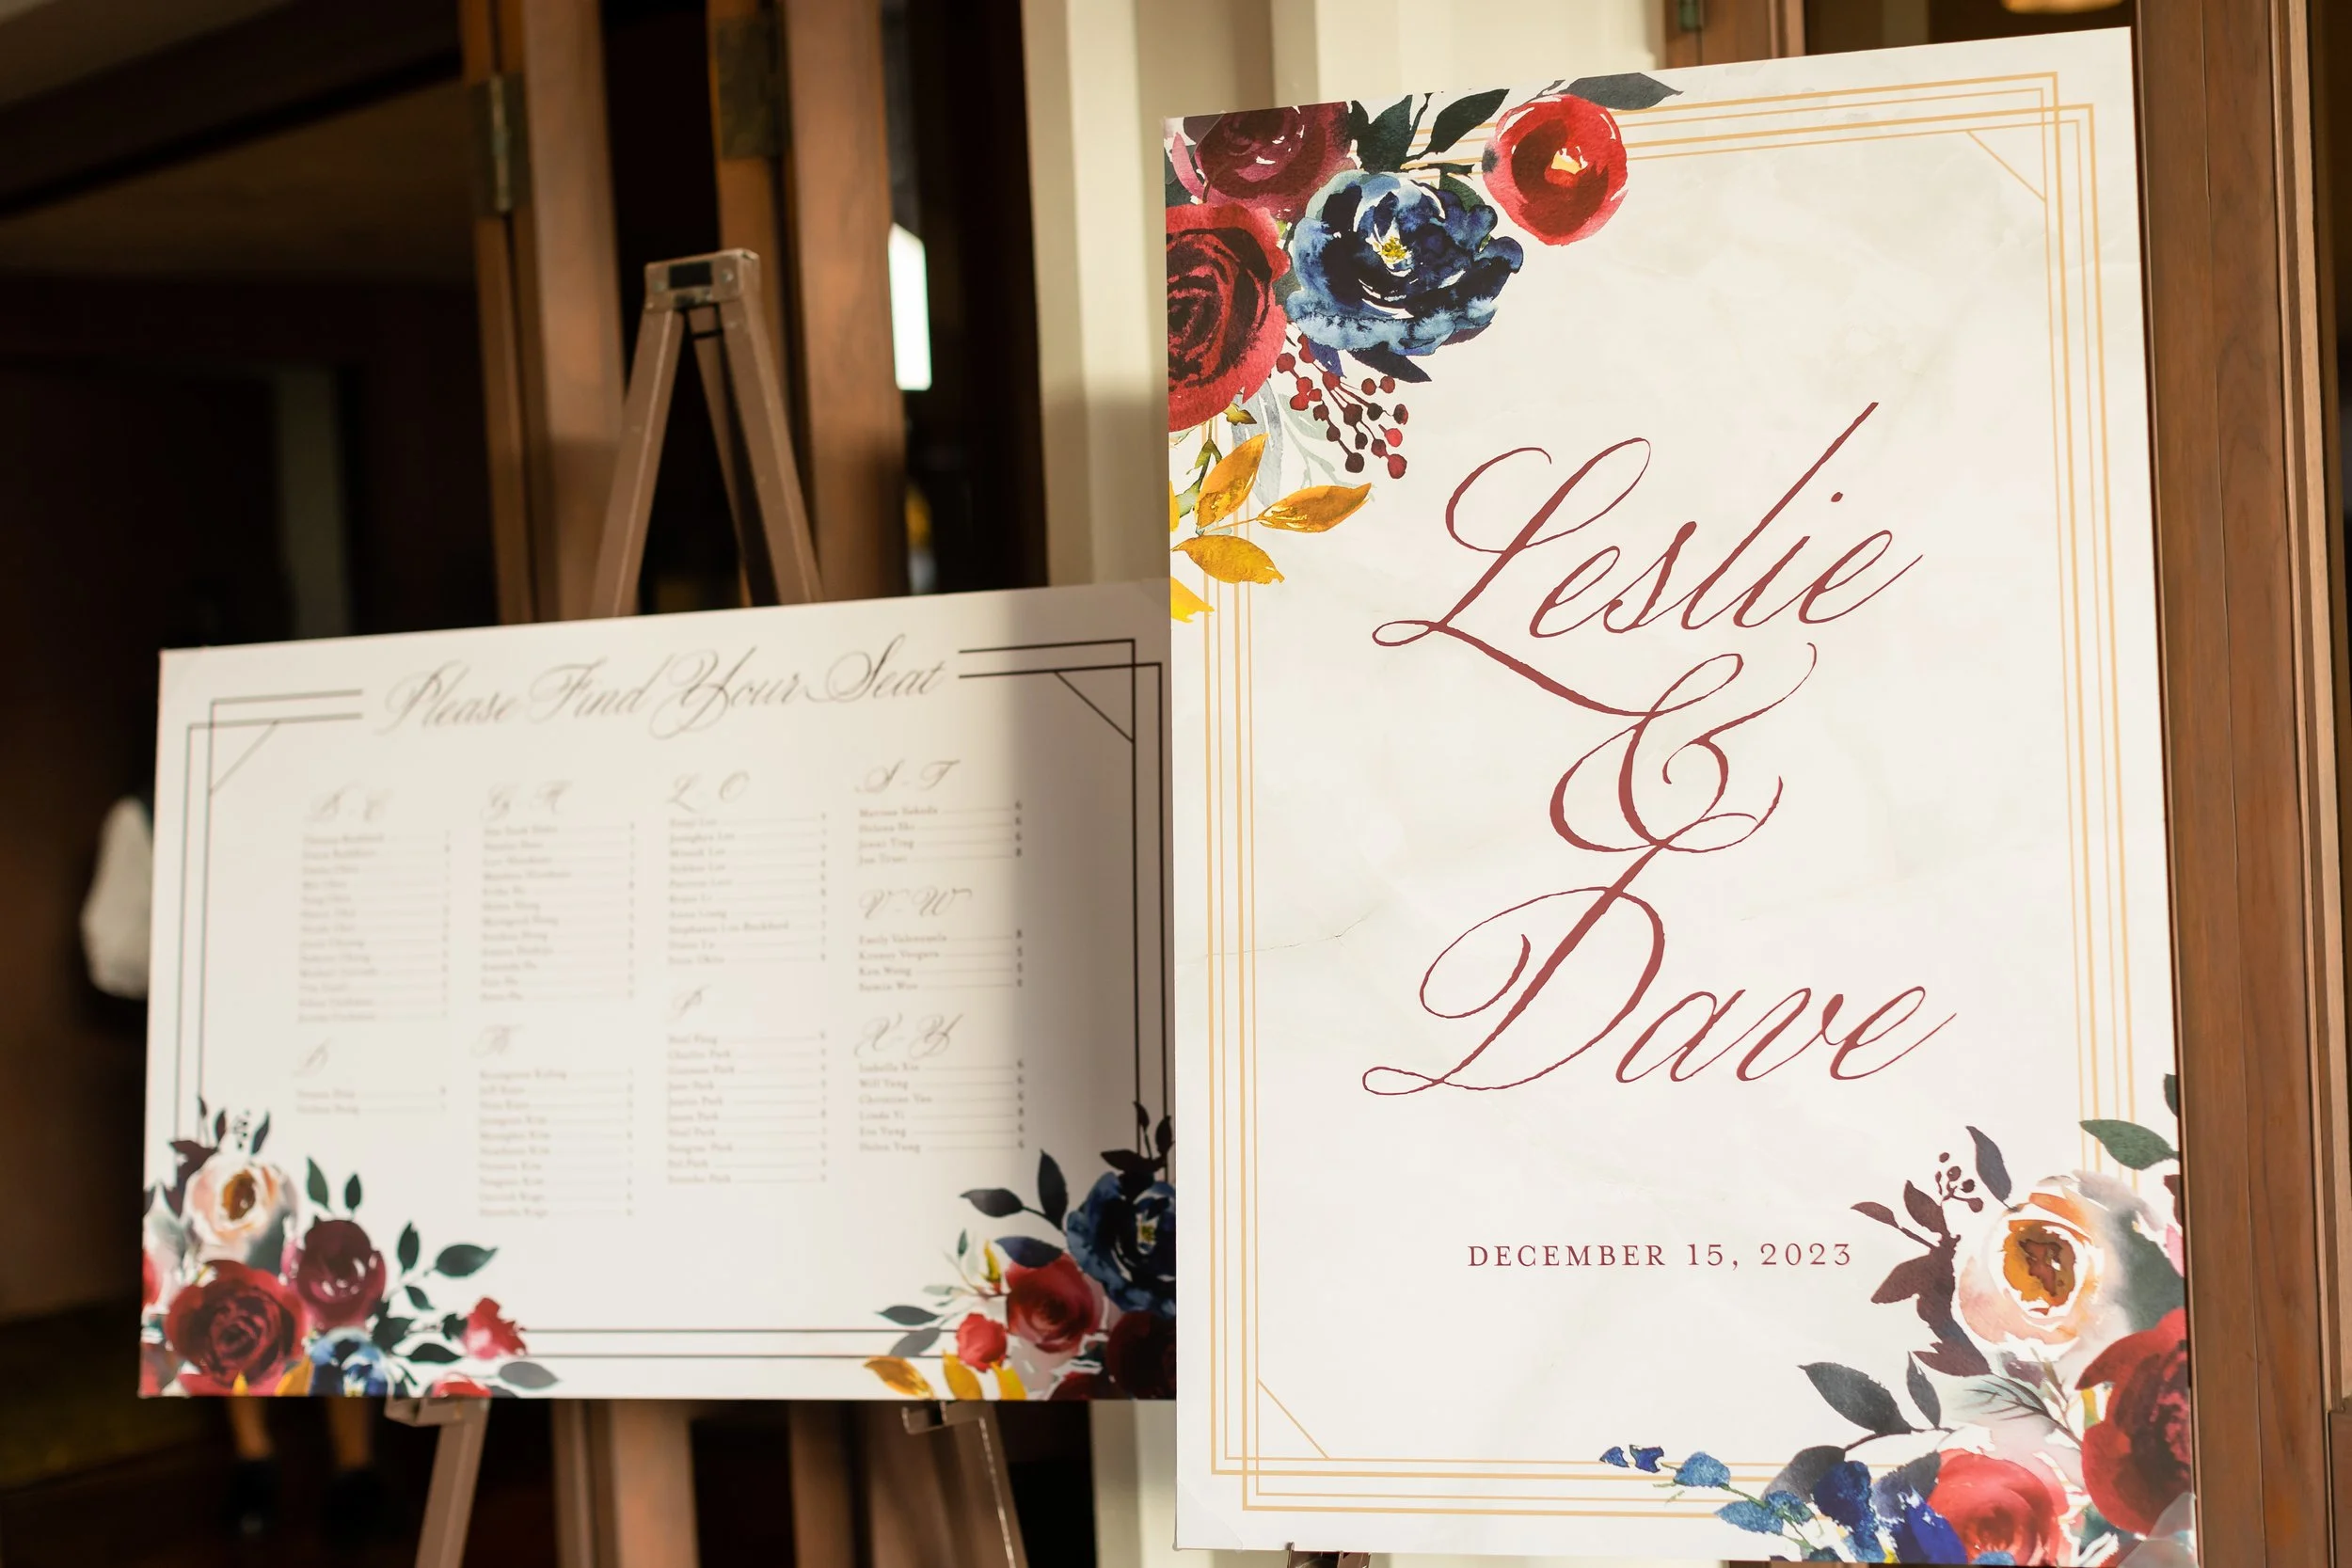
Photography: Visionari | Seating Chart: Borrowed Blooms
Poster Board: Create a large, visually appealing poster board that lists guest names and table numbers. Use elegant fonts and consider adding decorative elements like flowers or ribbons to enhance the design!
Framed Seating Chart: Use a large frame to display your seating chart. This adds a sophisticated touch and allows you to interchange the chart easily if updates are needed!
Mirror Display: For a glam touch, consider writing your seating chart on a large mirror! This not only serves as a functional guide but also enhances the aesthetic of your event.
Wooden Board or Chalkboard: A rustic wooden board or a chalkboard can create a charming display. Customize the writing style to match your event theme, and use fresh greenery or floral accents for added flair!
Hanging Display: Use a string and clothespins to hang cards with names and table numbers. This creates a casual and interactive element, allowing guests to easily find their seating.
Digital Display: For a modern twist, set up a screen or tablet that showcases the seating arrangement. This option offers easy updates and can be styled to match your event's branding.
Interactive Maps: If your event is large, consider creating an interactive map of your reception area. Mark tables and provide a QR code for guests to access a digital version of the seating chart with more details!
Photography: Mike Pham Photography
Conclusion
Creating your seating chart and designing a display doesn’t have to be a stressful process. By taking the time to understand your guests' relationships and choosing a display style that complements your event's theme, you can ensure a smooth experience for everyone involved. Remember, the goal is to create a space where all your guests feel comfortable and connected, paving the way for a memorable occasion! :-)
XOXOXO
(A Perfect Day)